MinIO as Scalable and Resilient Cloud Storage with Elysia.js #4
As our applications continue to grow in both functionality and user base, managing data storage efficiently has become a pivotal challenge. With increasing volumes of user-generated data, log files, backups, and other critical assets, we recognized the need for a storage solution that not only provides high availability but also scales seamlessly as demands increase.

In various industries, multiple software options exist to address the challenges of scalable and resilient storage, including solutions like MinIO, Cloudinary, Seaweed, and Lucidity, among others. However, today I’ll focus on MinIO, which I believe stands out as one of the premier storage solutions for enterprise-level needs. I’ll explain about MinIO into two sections,
1. Explanation, Concept, and Installation MinIO using Docker
Explanation
MinIO is an open-source, high-performance, object storage solution that’s compatible with Amazon S3. It is designed for use cases where scalable and resilient storage is essential. Here’s a breakdown of its key attributes in scalability and resilience:
a. Scalability
- Horizontal Scaling: MinIO is built to scale horizontally. This means you can add more storage servers to a MinIO cluster to increase storage capacity without downtime. It supports petabytes of data and billions of objects.
- Distributed Object Storage: MinIO operates in a distributed mode, where it automatically manages data distribution across multiple nodes, allowing for a vast amount of data to be stored and accessed with minimal latency.
- S3 Compatibility: MinIO is fully compatible with Amazon S3 APIs, allowing it to integrate with a wide range of applications and tools designed for AWS, which simplifies scaling efforts in hybrid or multi-cloud environments.
b. Resilience
- Erasure Coding: MinIO employs erasure coding, a data protection method that splits data into shards, encodes it with parity, and stores it across multiple nodes. If a node or a disk fails, MinIO can reconstruct the lost data using parity data, ensuring no loss of information.
- High Availability: MinIO clusters are designed for high availability and can tolerate multiple node failures without compromising data integrity or accessibility. Nodes can go offline and be repaired or replaced while the system remains operational.
- Replication and Versioning: MinIO supports both replication and versioning to protect against data corruption or accidental deletion. Replication can be configured across multiple clusters, ensuring data is accessible from different locations and meeting disaster recovery needs.
- Auto-Healing: MinIO features automatic data healing, where corrupted or missing data can be rebuilt from other nodes or disks in the cluster, maintaining consistent storage health.
c. Performance
- MinIO is optimized for high-speed data transfer, making it suitable for demanding use cases like AI and analytics, which require quick access to large datasets. It achieves low-latency performance with its distributed architecture and efficient read-write operations.
d. Security
- MinIO supports encryption (both at rest and in transit) and integrates seamlessly with identity providers for strong access controls. It also supports AWS IAM policies, ensuring secure data storage.
To install and deploy MinIO there are some types architectures such as
- Single-Node Single-Drive (SNSD or
standalone),
This is the simplest MinIO setup, where a single MinIO instance runs on a single server with only one storage drive. This setup is typically used for development, testing, or small-scale applications that do not require redundancy or high availability.
- Single-Node Multi-Drive (SNMD or
standalone multi-drive),
In this configuration, MinIO runs on a single node but with multiple drives. Data is distributed across these drives with built-in redundancy using erasure coding. Suitable for smaller production deployments or where moderate redundancy and scalability are needed without setting up multiple nodes.
- Multi-Node Multi-Drive (MNMD or
Distributed).
his is the most robust MinIO architecture, designed for scalability and high availability. MinIO runs across multiple nodes, each with multiple drives. Data is distributed across nodes and drives, providing high redundancy and fault tolerance. Ideal for large-scale, production-grade environments that require high availability, fault tolerance, and scalability, such as cloud storage platforms, enterprise-grade object storage, or data lakes.
For demonstrate, i’ll give a sample installation using docker with this command
# create folder as repository our object storage
mkdir -p ~/minio/data
# install the minio service and gui
docker run \
-p 9000:9000 \
-p 9001:9001 \
--name minio \
-v ~/minio/data:/data \
-e "MINIO_ROOT_USER=ROOT" \
-e "MINIO_ROOT_PASSWORD=Standar@123." \
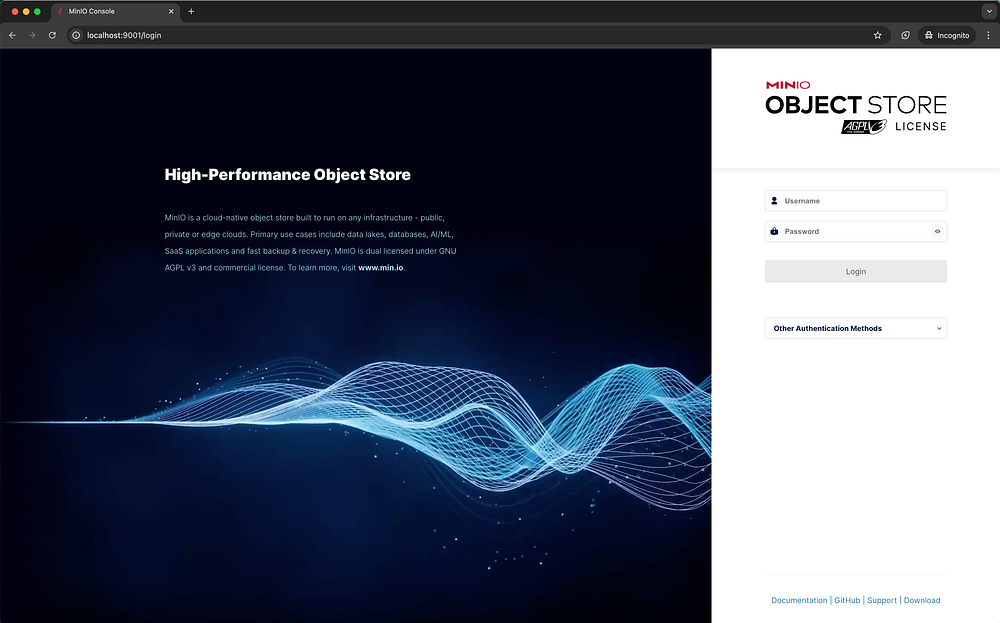
[quay.io/minio/minio](http://quay.io/minio/minio) server /data --console-address ":9001"If the installation is success, you can visit the MinIO Interface in the browser

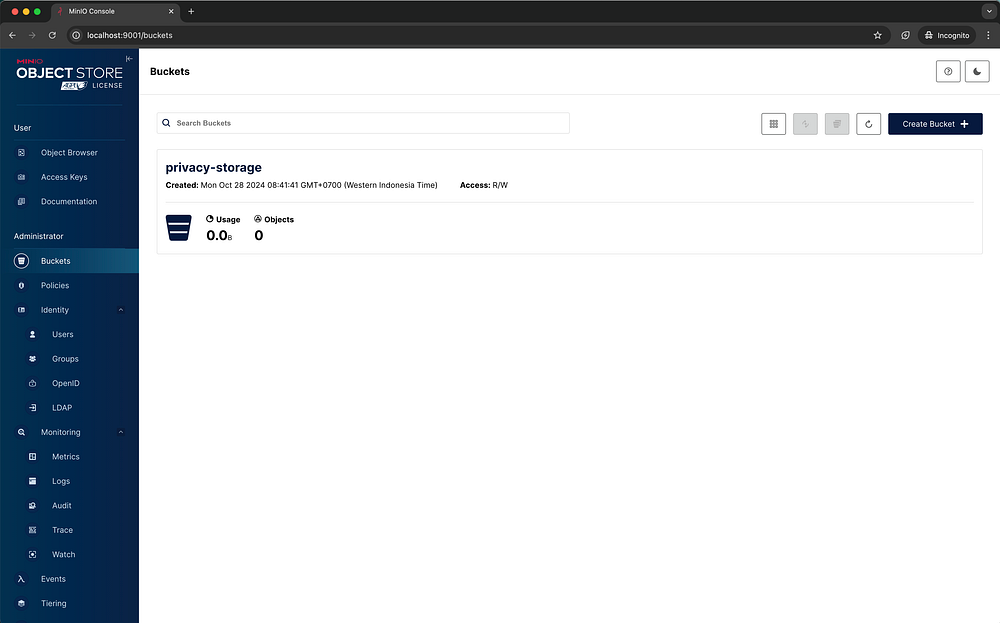
In MinIO, a bucket is a fundamental storage unit for organizing and managing objects (files or data) within the system. It functions similarly to folders or directories in traditional file systems, providing a way to group and manage data objects logically. Therefore, first we need to create a new bucket.
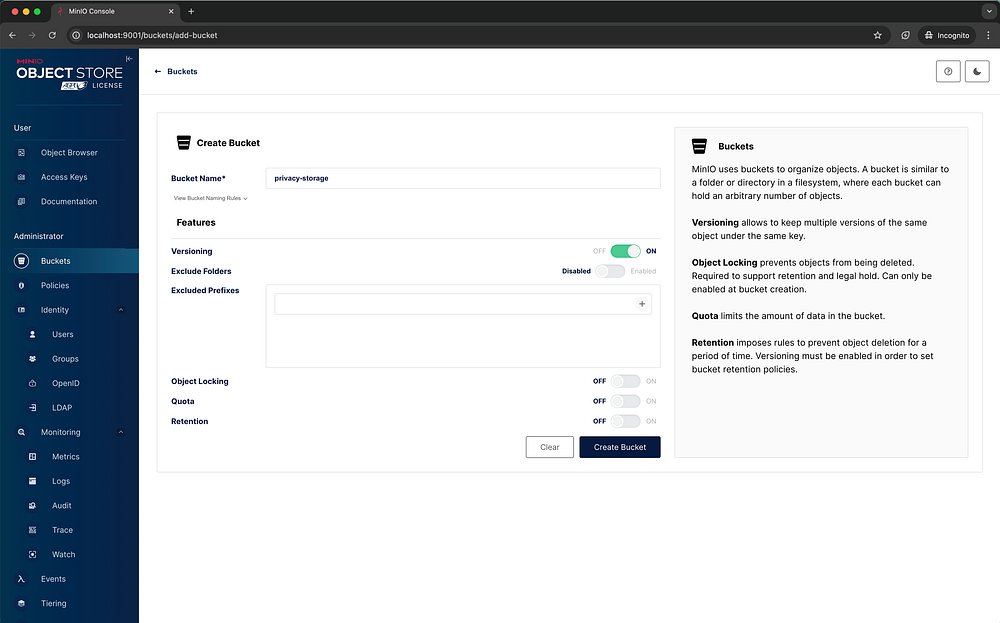
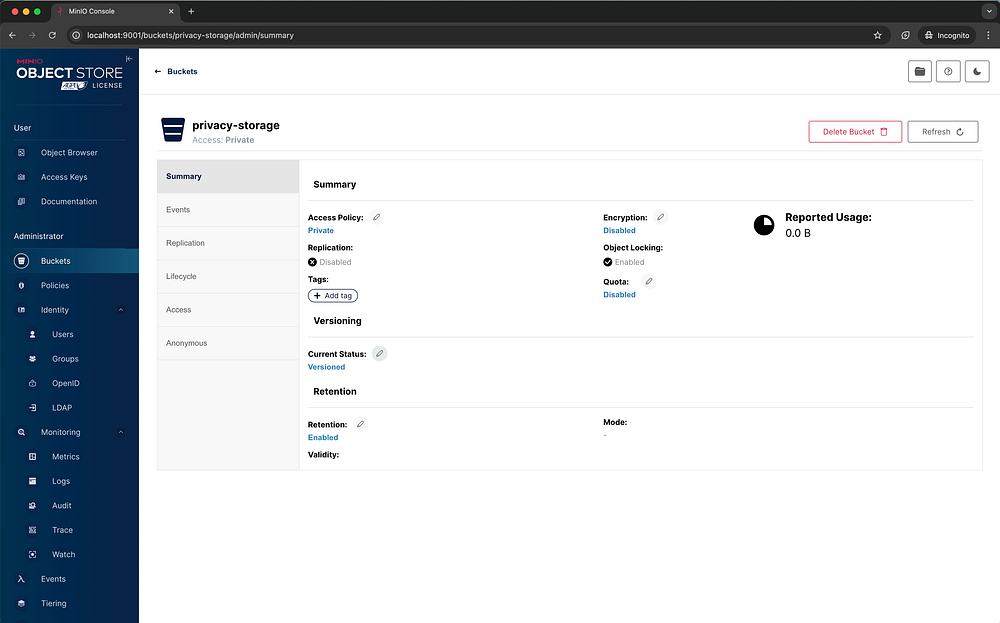
MinIO offers several powerful features to streamline data management and governance, including retention policies, quotas, prefix settings, and versioning for metadata files. By default, MinIO buckets are private, ensuring a higher level of security. Additionally, MinIO provides tools for managing user privileges, such as identity-based user management, and also allows for clustering users into groups for more organized access control.

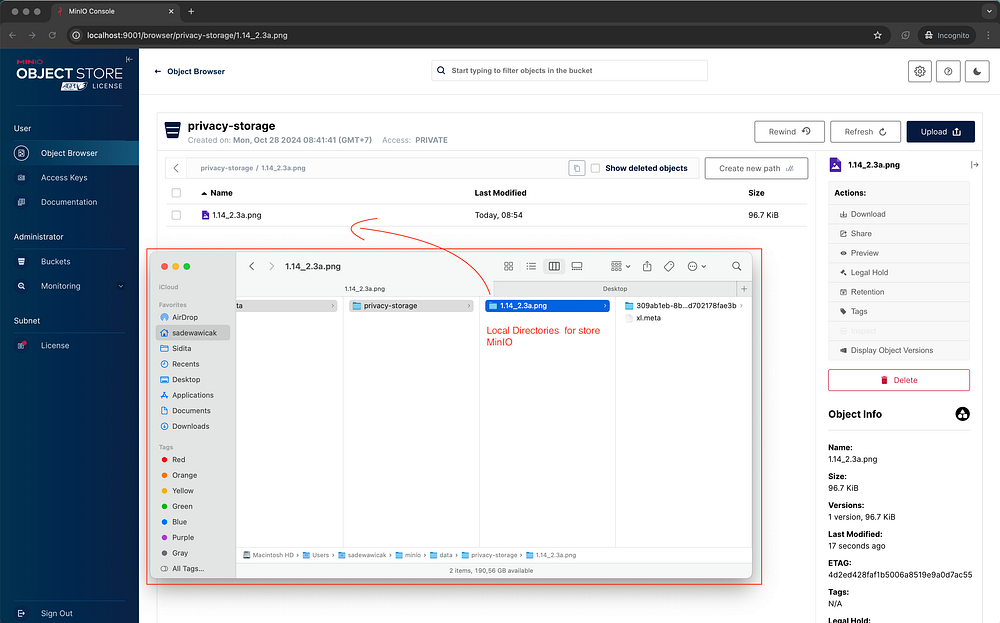
And of the interesting part is, if you upload a sample file in the minio and see in the local directories there are no files inside it only metadata you can viewed.
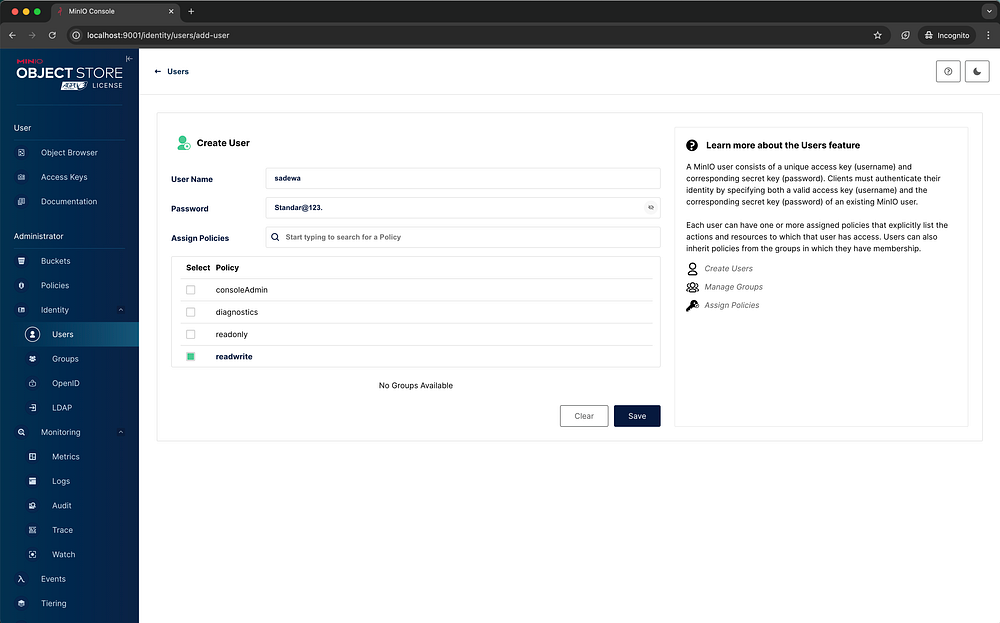
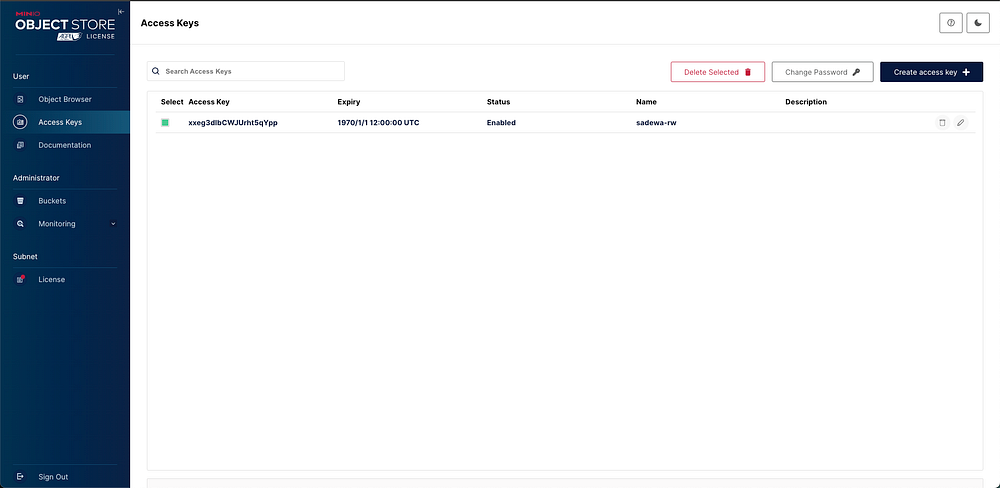
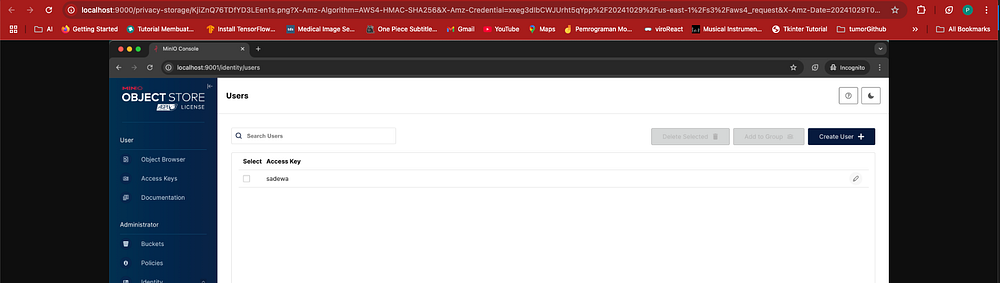
Before implementing MinIO with Elysia.js, we need to generate access keys so that the MinIO client can connect to the MinIO server.

2. Implementation using Elysia.js

a. Install and Configuration MinIO Client
Based on references https://www.npmjs.com/package/minio we can install minio client with command below
bun add minoIn the other hand to handle name file we need to install short-unique-id based on reference https://www.npmjs.com/package/short-unique-id.
bun add short-unique-idAnd for ensure the metadata extensions is same and prevent hacker to do some file spoofing, we need to install file-type based on reference https://www.npmjs.com/package/file-type
bun add file-typeTo config minio client in our local project we need to create a file which called MinioClient.ts inside folder lib.
import * as Minio from "minio";
const MinioClient = new Minio.Client({
  endPoint: "localhost",
  port: 9000,
  useSSL: false,
  accessKey: Bun.env.MINIO_ACCESS_KEY!,
  secretKey: Bun.env.MINIO_SECRET_KEY!,
});

export default MinioClient;
Next, create files to manage the controller, model, and route for our upload flow. Name them UploadController.ts, UploadModel.ts, and RouteUpload.ts.
b. Upload (Endpoint)
# UploadController.ts
export const UploadController = {
  uploadFile: async ({ file }: { file: File }) => {
    try {
      const fileBuffer = await file.arrayBuffer(); // Use arrayBuffer for binary data

      const { randomUUID } = new ShortUniqueId({ length: 20 });

      if (!(await isMetaDataImg(fileBuffer))) {
        return {
          data: null,
          message: "Uploaded file is not a valid image",
        };
      }

      const fileName = `${randomUUID()}.png`;
      const metadata = {
        "Content-Type": file.type,
        "Content-Length": file.size.toString(), // Set the content length
      };

      await MinioClient.putObject(
        Bun.env.BUCKET_NAME!,
        fileName,
        Buffer.from(fileBuffer), // Ensure correct buffer handling
        file.size,
        metadata
      );

      return {
        data: `File uploaded successfully to ${Bun.env.BUCKET_NAME}/${fileName}`,
        message: "success",
      };
    } catch (error) {
      return {
        data: "There is something wrong",
        message: "failed",
      };
    }
  },
}
# RouteUpload.ts
export const RouteUpload = (app: Elysia) =>
app.group("/upload", (uploadFile) => {
uploadFile.post(
"/",
async ({ body }) => UploadController.uploadFile({ file: body.file }),
{
tags: ["Upload"],
type: "multipart/form-data",
body: UploadFileModel,
}
);
return uploadFile;
});import { t } from "elysia";
export const UploadFileModel = t.Object({
file: t.File({
type: ["image/png", "image/jpeg", "image/gif", "image/bmp", "image/webp"], // List of acceptable image types
maxSize: 5 * 1024 * 1024, // 5 MB in bytes
}),
});
# utils/extension.ts
const isMetaDataImg = async (values: ArrayBuffer) => {
  // Read file content as array buffer
  const buffer = new Uint8Array(values);

  // Check if the file is an image based on its binary content
  const type = await fileTypeFromBuffer(buffer);
  if (!type || !type.mime.startsWith("image/")) {
    return false;
  }
  return true;
};

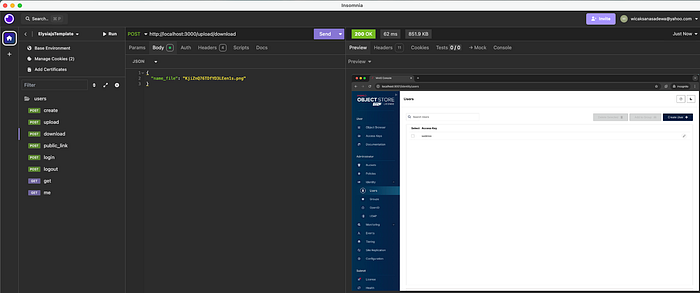
c. Download (Endpoint)
# RouteUpload.ts
uploadFile.post(
      "/download",
      async ({ body }) =>
        UploadController.downloadFile({
          name_file: body.name_file,
        }),
      {
        tags: ["Upload"],
        type: "application/json",
        body: GetNameFileModel,
      }
    );
# UploadController.ts
downloadFile: async ({ name_file }: { name_file: string }) => {
const stream = await MinioClient.getObject(Bun.env.BUCKET_NAME!, name_file);
// Convert the stream to a buffer
const chunks: Buffer[] = [];
for await (const chunk of stream) {
chunks.push(chunk);
}
const fileBuffer = Buffer.concat(chunks as unknown as Uint8Array[]);
//determine the file type from the buffer
const type = await fileTypeFromBuffer(new Uint8Array(fileBuffer));
if (!type) {
return {
data: null,
message: "Unable to determine file type",
};
}
// Set response headers for PNG file
const headers = {
"Content-Type": type?.mime ?? "image/jpeg",
"Content-Disposition": `attachment; filename="${name_file}"`,
};
// Return the file buffer as the response with headers
return new Response(fileBuffer, { headers });
},# UploadModel.ts
export const GetNameFileModel = t.Object({
name_file: t.String({}),
});

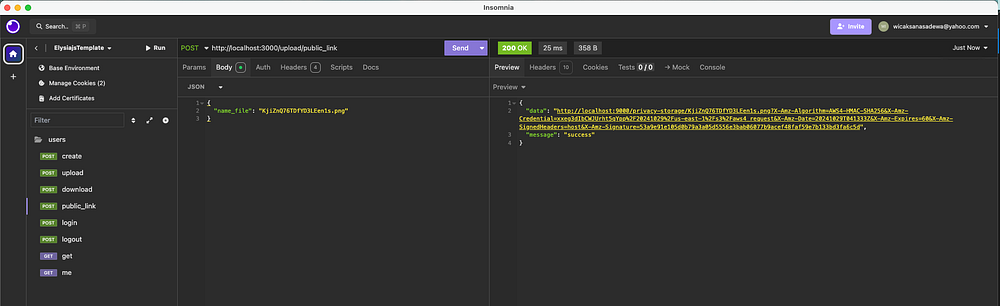
d. Public Link (Endpoint)
# RouteUpload.ts
uploadFile.post(
  "/public_link",
  async ({ body }) =>
    UploadController.publicLinkFile({ name_file: body.name_file }),
  {
    tags: ["Upload"],
    type: "application/json",
    body: GetNameFileModel,
  }
);
# UploadController.ts
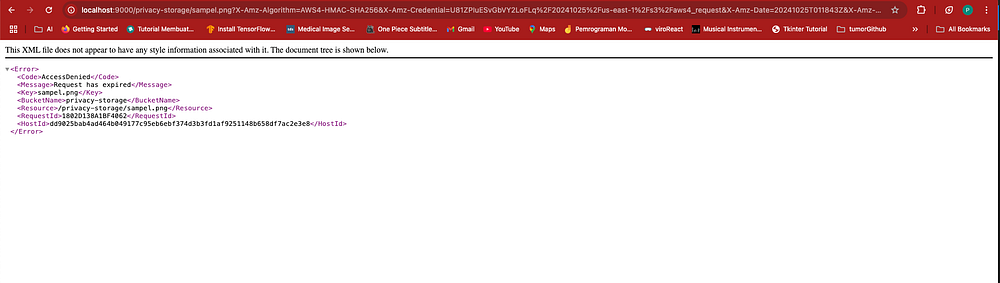
publicLinkFile: async ({ name_file }: { name_file: string }) => {
const preDesignUrl = await MinioClient.presignedUrl(
"GET",
Bun.env.BUCKET_NAME!,
name_file,
60 * 1 //5 minutes in seconds for expiry
);
return {
data: preDesignUrl,
message: "success",
};
},
Let’s Explore It :)
To make it easy to understand i’ll give my repository about this project in the link repo below.